Styrofoam Pool Kits: The Complete Guide for 2026
Written by:
Modified on:
Reading time:
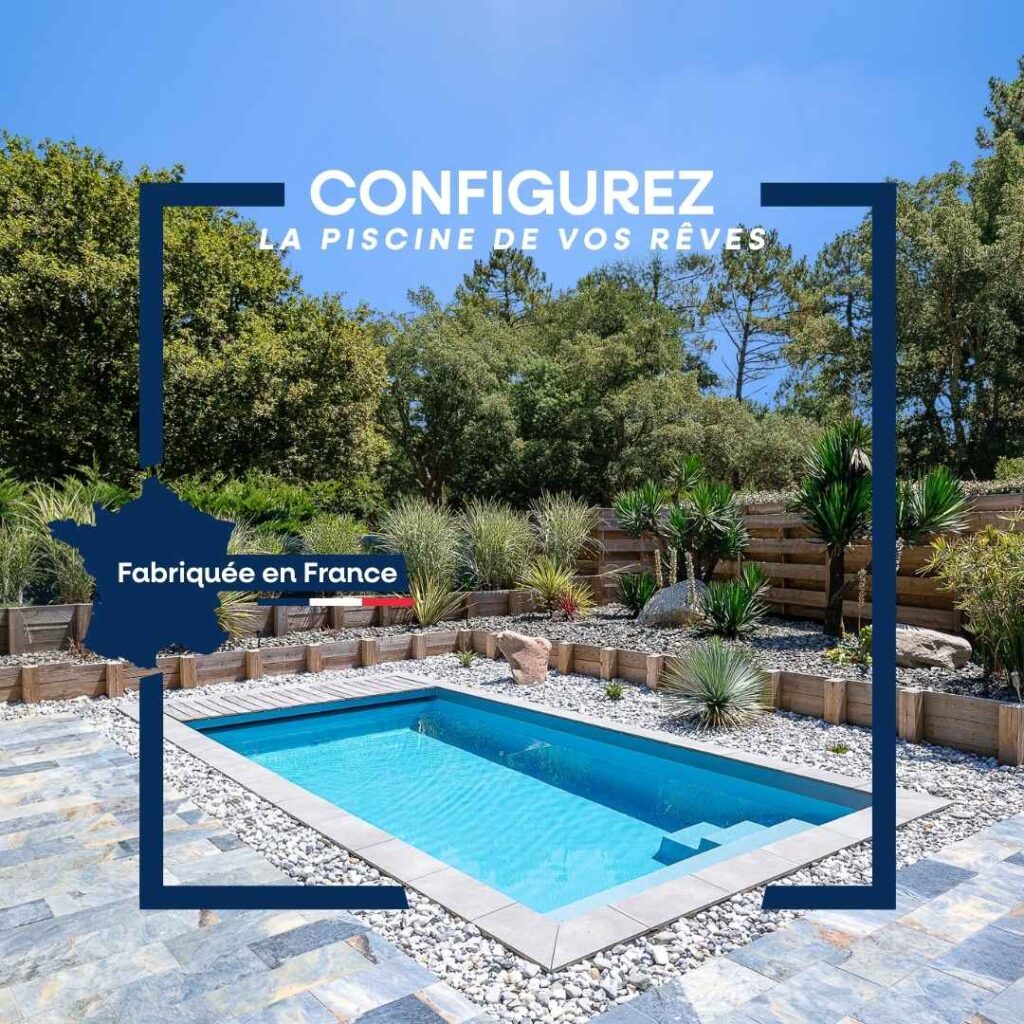
The polystyrene pool kit concept is based on an innovative, modular approach that makes it easy for anyone to build an in-ground polystyrene block pool. This concept combines ease of assembly, lightness, and durability, making it an excellent solution for both homeowners and professionals seeking a durable, high-performance pool.
In summary:
- The polystyrene pool kit is a modular system consisting of high-density polystyrene formwork blocks, providing a durable structure and built-in thermal insulation thanks to the reinforced concrete poured inside.
- This solution offers quick installation, excellent insulation, and cost-effectiveness, making it ideal for homeowners and experienced DIYers looking to build a high-quality in-ground pool.
- This guide explains how they work, their benefits, the installation process, prices in 2026, and how they compare to other types of pools to help you make the best choice.
What is a polystyrene pool kit?
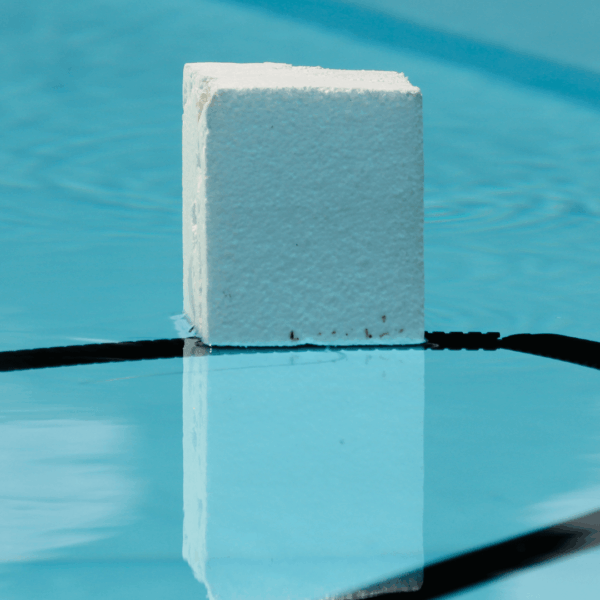
A polystyrene pool kit is a complete system for building the walls of an in-ground pool using high-density expanded polystyrene (EPS) formwork blocks. This material, known for its light weight, ease of handling, and insulating properties, provides an effective and stable solution for pool construction.
These blocks form a permanent formwork that remains in place after the concrete is poured, providing both the structural framework and insulation for the pool.
The kit includes various essential products for pool construction and maintenance, such as the filtration system, installation equipment, and accessories needed to ensure the pool’s performance and upkeep.
The components of the polystyrene kit
The standard kit includes several essential components for assembly:
- Polystyrene formwork blocks: standard dimensions of 125 cm in length, 30 cm in height, and 25 to 30 cm in width. Each block features two layers of EPS (approximately 5 cm on the inside + 5 cm on the outside) with a 15-cm central space for the concrete wall.
- Components to be embedded: skimmer, floor drain, return outlets, vacuum port, LED spotlight. These components are installed during the block assembly process.
- Mounting rail for liners and finishing accessories: corner caps, hung profiles, protective felt.
- Filtration system and equipment: pump, sand filter, plumbing kit, fitting kit for the hydraulic system, and maintenance supplies. The contents of the kit and the filtration components vary depending on the pool’s size (depth, length, shape) to ensure optimal customization and performance.
Difference from a traditional concrete pool
The polystyrene pool kit, also known as a polystyrene block pool, differs from conventional formwork in several key ways. Unlike traditional concrete, which requires the construction and subsequent dismantling of heavy formwork panels, polystyrene blocks simply snap together using a male/female interlocking system.
The lightweight nature of the blocks (density of 25 to 30 kg/m³) makes them exceptionally easy to handle without the need for lifting equipment. A standard block weighs less than 3 kg, making it much easier for one or two people to install.
This technical difference explains why many self-builders choose this solution: it is easier to construct while still providing a reinforced concrete structure of comparable strength.
How does a polystyrene pool kit work?
The construction process consists of three complementary phases: assembling the formwork panels, embedding the rebar, and pouring the concrete, which together create a monolithic, insulated structure.
The formwork block system
The blocks are assembled according to a specific protocol that ensures the stability of the structure:
- The blocks interlock using male and female tabs, without the need for mortar or a primer.
- The panels are installed in a staggered pattern to offset the vertical joints and ensure structural integrity.
- Arrows or markings on each block indicate the correct orientation (arrow pointing toward the center of the pool).
- End caps allow you to neatly finish rows and corners.
This simplified installation process allows two people to assemble the walls of a family pool in just a few days.
Reinforcement and concrete pouring
Reinforcing bars form the essential framework of a reinforced concrete structure:
- Vertical reinforcement: Ø10 mm round bars spaced every 25 to 30 cm.
- Horizontal reinforcement: 8 mm rebar installed every 30 cm.
- Welded mesh to reinforce key areas.
The concrete used must have a mix ratio of 350 kg of cement per cubic meter (class C25/30), with a maximum consistency of S3. Pouring is often done in two stages for heights exceeding 1.50 m, thereby avoiding excessive pressure on the blocks.
For a 6×3-meter pool with a depth of 1.50 meters, you’ll need about 7 to 8 cubic meters of concrete in total (walls + foundation slab ).
Integrated thermal insulation
Polystyrene offers outstanding thermal performance for a swimming pool:
- Thermal conductivity (λ): approximately 0.033 W/(m·K).
- Thermal resistance (R): up to 4.24 m²·K/W, depending on thickness.
- Estimated heat gain: an additional 2 to 4°C in the summer without active heating.
This insulation significantly reduces heat loss, extending the swimming season and lowering your energy bill if you use a heat pump or a heating system.
Pros and cons of a polystyrene pool kit
A balanced assessment will help you determine whether this solution is a good fit for your project and your skill set.
The main benefits
Choosing a polystyrene kit offers several practical benefits:
- Quick assembly: The interlocking system significantly speeds up construction compared to traditional formwork.
- Built-in thermal insulation: lower heating costs and improved swimming comfort.
- Cost control: When building your own home, labor costs are significantly reduced.
- Lightweight and easy to handle: easy to move without lifting equipment.
- Customizable design: The blocks can be easily cut to create custom shapes with built-in stairs.
- Durability: The reinforced concrete structure ensures excellent durability over time.
The main drawbacks and limitations
There are certain considerations that deserve special attention before getting started:
- Strict technical requirements: the reinforcement, concrete mix design, and pouring must be executed flawlessly; otherwise, cracks or water infiltration may occur.
- No ten-year warranty: In self-build projects, the homeowner is responsible for the structure.
- Required skills: A solid understanding of masonry and reinforced concrete is essential.
- Required protection: Outdoor units must be protected against rodents and tree roots.
- Waterproofing depends on the liner: the quality of the liner determines the final waterproofing.
Price of a polystyrene pool kit in 2026
Prices vary depending on size, equipment level, and model range. Here are the current price ranges observed on the French market.
Prices based on dimensions
| Pool type | Dimensions | Price of the complete kit |
|---|---|---|
| Mini pool | 3×2 m | €3,000 to €5,000 (including tax) |
| Family pool | 6×3 m | €4,000 to €10,000 (including tax) |
| Large swimming pool | 8×4 m | €6,000 to €15,000 (including tax) |
| Luxury pool | 10×4 m | €12,000 to €18,000 (including tax) |
Additional costs to expect
- Reinforced concrete (walls + slab): €800 to €1,500.
- Complete reinforcement: €300 to €600.
- Professional earthwork: €1,500 to €3,500.
- Pool coping and deck: €1,000 to €4,000.
What's included in the kit
| Items typically included | Items to be budgeted separately |
|---|---|
| Polystyrene formwork blocks | Concrete and Reinforcement |
| Liner (75/100) | Earthwork and Excavation |
| Filtration kit (pump + filter) | Foundation slab |
| Complete seal-in components | Labor as needed |
| LED floodlight | Coping stones and exterior finishes |
| Protective felt | Perimeter drainage |
| Basic electrical panel | Building permit or notice of construction |
Delivery of a polystyrene pool kit: details and tips
The delivery of your polystyrene pool kit is a crucial step in the success of your project. It is important to choose a supplier known for the reliability of its delivery service to avoid any delays.
Polystyrene blocks, along with all the parts to be embedded and accessories, are typically packaged on pallets. This makes them easier to handle upon arrival at the construction site.
Before delivery, be sure to check the dimensions and total weight of the kit. This will allow you to make the necessary arrangements for unloading and storage.
Set aside a flat, dry, and easily accessible area to store the blocks and parts. Avoid prolonged exposure to moisture or the elements.
Upon delivery, carefully inspect the condition of the packages and each component to be installed (skimmer, return lines, vacuum inlets, etc.) before signing the delivery receipt.
If you notice any damage or missing parts, report it immediately to the carrier and the supplier. This will ensure a prompt response and prevent delays on the job site.
By planning ahead for delivery logistics and carefully inspecting each component, you can ensure a smooth start-up that meets your expectations.
Detailed steps for assembling a polystyrene block pool kit
The success of the project depends on strict adherence to each step. Here is the complete timeline with the critical milestones.
Phase 1: Preparing the Site
- Preliminary study: Assess the soil type (clay, sand, rock), the water table level, and site access for concrete delivery.
- Administrative procedures: File a preliminary notice or a building permit, depending on the floor area (required for projects larger than 10 m²).
- Excavation: Dig to a depth equal to the interior dimensions plus the thickness of the blocks, with a slope for drainage.
- Preparing the foundation slab: lay a bed of compacted sand, install the perimeter formwork and the welded mesh, and pour a concrete slab 12 to 15 cm thick.
Phase 2: Assembling the structure
- First row: Place the blocks on the perfectly level slab and check that they are level.
- Staggered installation: Install the panels one row at a time in a staggered pattern, placing the panels to be sealed in their designated locations.
- Reinforcement: Place vertical reinforcing bars every 25–30 cm and horizontal reinforcing bars every 30 cm.
- Top edge: Secure the liner mounting rail and check that the structure is plumb.
Phase 3: Final touches and commissioning
- Pouring concrete: Fill the formwork in two passes if the height exceeds 1.50 m, and vibrate to remove air bubbles.
- Curing concrete: Allow at least 5 to 7 days for drying.
- Installing the liner: Carefully lay down the protective felt, then the liner.
- Connections: Connect the filtration system, the pump, and the electrical panel.
- Backfilling: Gradually backfill the area around the outside with sand or gravel.
- Filling the pond: Fill the pond and perform the initial treatments.
Expert tip: Hire a professional pool contractor for the critical steps (reinforcement, concrete pouring, and liner installation) if you have no experience with masonry.
Sealing Parts and Waterproofing: Ensuring the Longevity of Your Pool
The success of a polystyrene block pool depends largely on the quality and proper installation of the flashing components. These components ensure the pool’s watertightness and durability.
Components to be embedded, such as skimmers, return outlets, vacuum inlets, or spotlights, must be compatible with the polystyrene structure. This ensures they are compatible with the blocks and the liner.
During installation, strictly follow the manufacturer’s instructions for installing the components to be embedded. Use the accessories and gaskets provided or recommended.
Make sure to install the blocks precisely during assembly. Careful positioning and proper sealing are essential. This prevents water leaks or seepage that could damage the filtration system and the structure.
The quality of the materials is also very important. Choose durable components that can withstand water pressure and chemicals. This ensures the longevity of your pool.
Check the condition of seals and fittings regularly, especially during winterization or when bringing the system back online. This vigilance allows you to quickly detect any issues and take action before problems escalate.
By following these best practices and choosing high-quality components, you’ll maximize your pool’s watertightness and durability. You’ll also ensure that the filtration system operates smoothly and that your family can enjoy swimming for years to come.
Polystyrene Pool Kits vs. Other Types of Pools
This comparison helps you make the best choice based on your priorities and constraints.
Detailed comparison table
| Criterion | Polystyrene kit | Fiberglass pool | Traditional concrete pool |
|---|---|---|---|
| Structure pricing | €4,000 to €15,000 | €8,000 to €25,000 | €15,000 to €40,000 |
| Assembly time | 2 to 4 weeks | 3 to 5 days | 6 to 12 weeks |
| Thermal insulation | Excellent (built-in) | Variable (optional) | Needs to be added |
| Sustainability | Very good | Excellent (20-year warranty) | Excellent |
| Interview | A liner to watch | Easy-to-apply gel coat | Flooring in need of renovation |
| Warranties | Limited to self-build projects | 10-year builder's warranty | Decennale: So Professional |
| Required skills | Experienced Masonry | None (professional installation) | Expert Masonry |
| Personalization | Custom orders accepted | Predefined templates | Completely free |
Summary to help you choose
Choose the polystyrene kit if: you have some experience with masonry, have time to spare, are working with a limited budget, and enjoy working with your hands.
Choose a fiberglass shell if: you want a quick installation, a solid manufacturer’s warranty, and to avoid the risks associated with building your own pool, and if you’re undecided between a wooden pool and a fiberglass shell pool, for example.
Choose traditional concrete if: you want a completely custom design and have a substantial budget to work with, along with qualified professionals.
Why choose Aboral as an alternative to polystyrene kits?
If you want to avoid the hassle of assembling a polystyrene kit pool while still enjoying a high-quality in-ground pool, polyester shell pools offer a particularly attractive high-end alternative.
Benefits of the Aboral solution
Aboral pools, available through a network of specialized dealers, offer several distinctive advantages:
- Made in France: Entirely manufactured in France using premium-quality materials.
- 20-year warranty: comprehensive coverage of the structure, far exceeding the warranties offered for DIY kits.
- Installation in 4 days*: installed by trained professionals, with no effort required on your part.
- Gel coat finish: smooth, attractive, and easy to maintain.
- No risk of poor workmanship: the installers’ expertise ensures a flawless installation.
- After-sales service: comprehensive support from project implementation through maintenance.
This solution is particularly well-suited for homeowners seeking excellence without the technical uncertainties of building their own home.
Manufacturing and Installation Process for Aboral Pools
The Aboral industrial process, which is similar to the key steps involved in building a fiberglass pool, ensures consistent quality and optimal performance.
Manufacturing steps:
- Mold design based on the selected dimensions and shapes.
- Application of gel coat layers for finishing and waterproofing.
- High-strength fiberglass and polyester resin laminate.
- Rigorous quality checks before delivery.
On-site installation process:
- Site preparation and earthwork.
- Delivery of the hull by crane truck.
- Placing and securing the hull in the excavation.
- Hydraulic and electrical connections.
- Simultaneous backfilling and filling with water.
- Finishing and commissioning.
The entire project takes about four days, compared to several weeks for a polystyrene kit.
How can you easily set up your pool with Aboral?
Aboral offers an intuitive online pool shell configurator that lets you design your project in just a few clicks.
Customization steps:
- Shape selection: rectangular, square, rounded.
- Choose the dimensions: length, width, and depth suited to your lot and intended use.
- Equipment options: staircase, submerged platform, LED lighting, roller shutter.
- Colors and finishes: several gel coat colors available.
An Aboral consultant will then work with you to refine the project, verify its technical feasibility, and plan the installation according to your expectations.
Good to know:
An approved safety device is required as soon as the watercraft is launched to ensure the safety of users.
The frost-resistant polystyrene blocks ensure the structure’s long service life, while their light weight allows for quick assembly, which typically takes 5 to 7 days, not including concrete curing time.
It is essential to protect the exterior walls before backfilling to ensure the pool remains intact. Waterproofing is provided by the liner, while filtration can be traditional or integrated, depending on your needs.
Thanks to its natural insulating properties, polystyrene helps reduce heating costs by maintaining a stable water temperature.
A polystyrene pool kit is an innovative and cost-effective solution for a durable in-ground pool, provided you have experience with masonry and reinforced concrete. For a quick, high-end, turnkey alternative, Aboral offers polyester shell pools manufactured in France, combining quality, design, and professional installation. Choose the solution that best fits your project and enjoy a top-quality pool.
Share this article

You may be asking yourself these questions?
In 2026, an in-ground swimming pool will be subject to a development tax (one-time, upon installation) and property tax (annual). The housing tax will be permanently abolished for primary residences.
The national flat rate is updated annually by decree. In 2026, it will be €251/m².
No, for primary residences. The housing tax will be permanently abolished in 2026. For secondary residences, it may still apply in certain cases.
90 days from the completion of the work, on impots.gouv.fr. This deadline is mandatory: exceeding it will result in the permanent loss of any exemptions.
Yes, if your municipality has voted for a temporary two-year exemption for new buildings. You must submit your declaration within 90 days to benefit from this exemption.
On the same topic
Your fiberglass pool project is waiting for you!
Configure your shell pool in just a few clicks or find your nearest Aboral distributor for personalized support from start to finish.